Access Denied
IMPORTANT! If you’re a store owner, please make sure you have Customer accounts enabled in your Store Admin, as you have customer based locks set up with EasyLockdown app. Enable Customer Accounts
- Home
- Organic Golden Oyster ‘Spray & Grow’ Mushroom Growing Kit
Hot
New
In stock
Sold Out
Organic Golden Oyster ‘Spray & Grow’ Mushroom Growing Kit


Zoom
| Skill level | Beginner |
| Grow location | Indoors |
| Grow speed | 2 weeks |
| Certifications | USDA certified organic |
| Kit shelf life | 6 months (refrigerated) |
| Kit dimensions | 10"(H) x 5"(W) x 5"(D) |
| Kit weight | 4 lbs |
Why we love them:
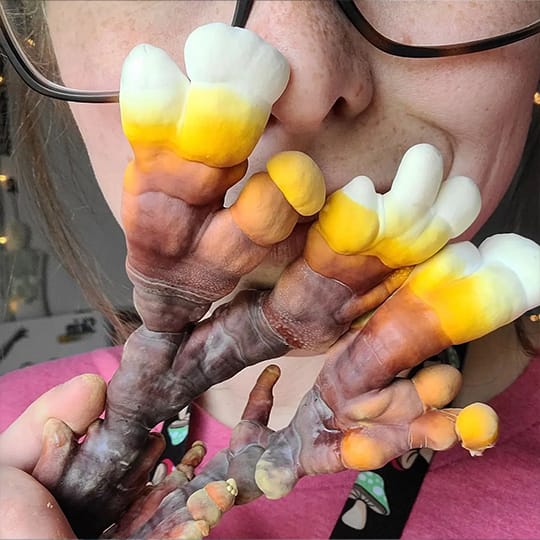
Golden oyster mushrooms are aromatic, delicate, and delicious. They also have a hint of nuttiness (similar to cashews) and are beloved by chefs for their texture and flavor. The perfect panko-fried fare, they also pair perfectly with pasta, risotto, noodle stir frys, and more. (We especially love adding them to warm creamy soups, frittatas, tacos, and even quiche!)
About the kit:
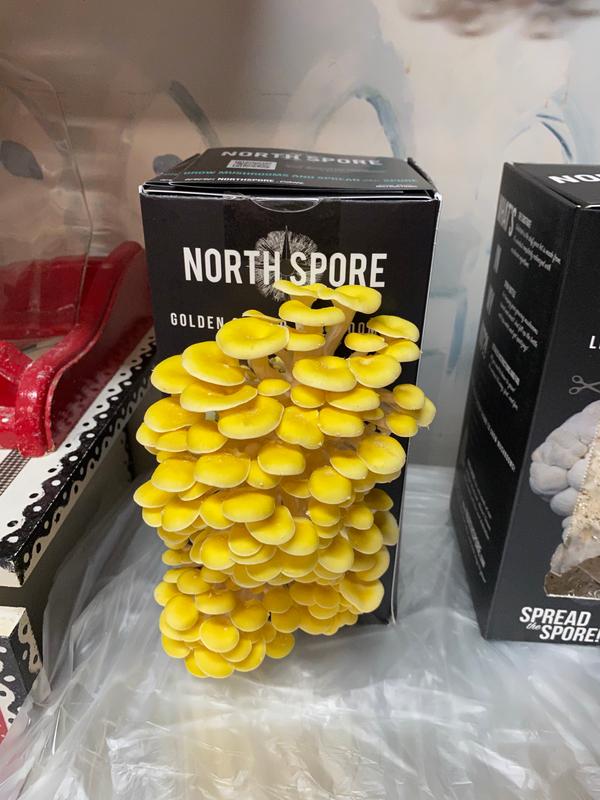
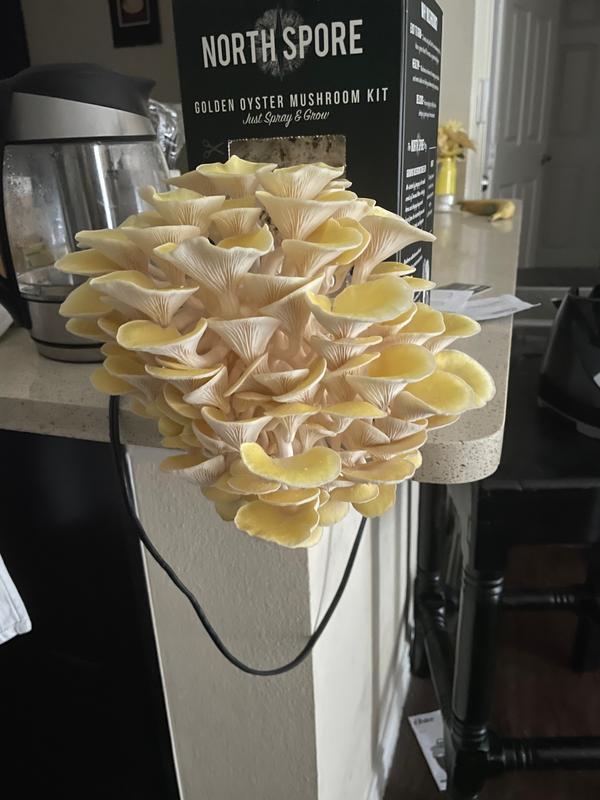
Our USDA-certified organic golden oyster mushroom kits are reliable producers and tend to yield large flushes of beautiful bright yellow to deep golden mushrooms when given adequate humidity. With continued proper care, you should be able to get multiple flushes. (We 100% guarantee your first flush of mushrooms, but hope you'll try for 2 or 3!)
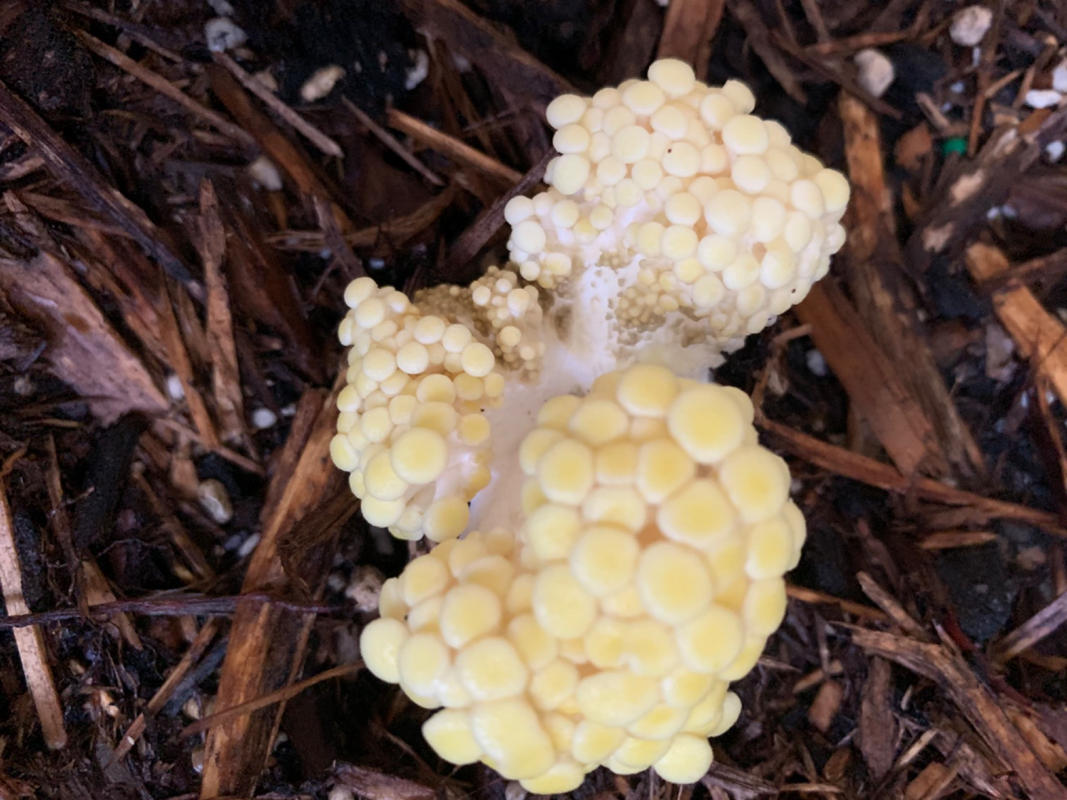
That's not mold, it's mycelium!
Your kit includes an amended sawdust block fully colonized with mushroom mycelium. It may appear covered with a soft, white, mold-like substance - that's the mushroom mycelium! It is completely normal. The mycelium of some species is more prominent than others.
-

-
Click here to download PDF of instruction booklet
1) Inside this box is an amended sawdust block that has been completely colonized by mushroom mycelium. Open the front of your kit along the perforated line and dispose of the remaining cardboard.
2) Slice an 'X' into the plastic underneath with a sharp knife or scissors.
3) Lift open the top of your box to find the sprayer and instruction booklet. Fill the sprayer with tap water and generously spritz the plastic where you sliced your 'X' shape. Spritz your kit at least twice daily - more if you're in a particularly dry climate. (If your mushrooms start to grow but dry up and die, your growing conditions may be too dry and you should make a humidity tent!)
4) Place your kit in the most humid part of your home and outside of direct sunlight. We suggest putting it on a kitchen counter close to a sink. The mushroom mycelium will sense the oxygen in the air and produce mushroom 'pins,' another term for 'baby mushrooms.'
5) It usually takes 5-14 days for pins to form. Once pins begin to form, mushrooms will grow quickly. So when you spot your first pins keep an eye on them. The warmer the environment the faster they will grow. Mushrooms should be ready to harvest 2-5 days after pin formation.
-
If you're not ready to use immediately, your Golden Oyster Spray & Grow Kit can be refrigerated or stored in a cool dry place, out of direct sunlight, for up to 3 months.
-
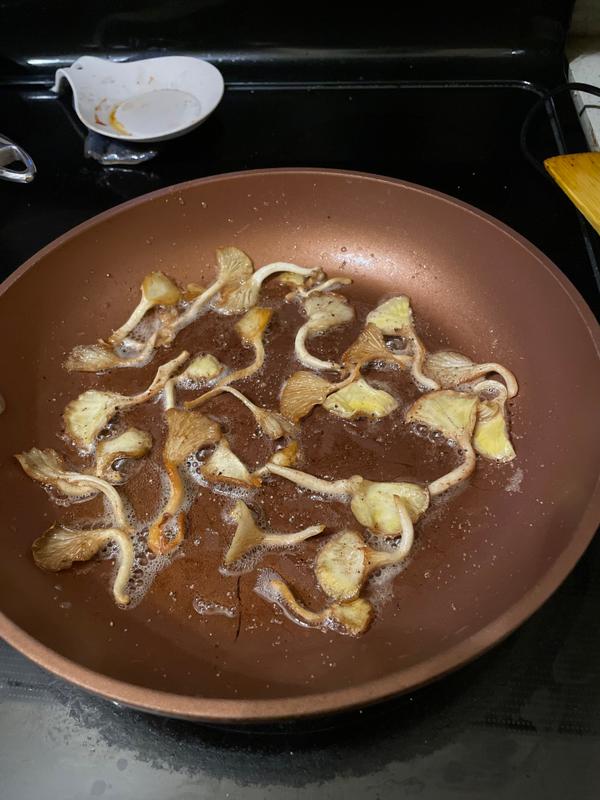
The classic North Spore recipe is to chop the oyster mushrooms and sauté them in a heavy pan on medium heat with butter, garlic, and loads of fresh thyme and rosemary (or whatever other herbs you happen to have on hand!). Cook until the mushrooms have released their liquid, then continue cooking until that liquid has cooked off and the mushrooms begin to brown. This can take from 20-30 minutes. Deglaze your pan with a splash of white wine, reduce once more, and finish with a touch of heavy cream. Season generously with salt.
-
USDA Certified Organic
The spawn used in our mushroom kits is grown on organic grain and made with organic cultures from our own culture bank. Our kits are handmade from a blend of non-GMO woods and supplements from farms and forests in New England and North America.
-
Simply take a trash bag or other loosely fitting plastic bag and put PLENTY of 1/2 inch holes in it (THIS IS IMPORTANT: Mushrooms exhale CO2 and inhale oxygen. They will suffocate themselves if there isn’t adequate airflow! Golden oysters that look stringy or strange are usually growing that way because they need more air!). Spray the slice at least once per day with the included spray bottle. If you choose to use a humidity tent make sure to spray the inside of the tent once per day to maintain humidity.
-
If you’re going to consume home-grown mushrooms, make sure to cook your fresh mushrooms thoroughly with heat. If it is your first time eating this species, it is best to start with a small amount to check for allergies, even if cooked.
Mushrooms grow spores as they develop. This is a natural means of reproduction. This is when people with allergies or compromised immune systems may want to consider putting fruiting mushroom kits outdoors or in a well-ventilated area. Spores in mushrooms sometimes cause respiratory irritation. In rare cases, spores may also cause irritation for some non-allergic or non-immunocompromised mushroom growers. If you are one of them, it is recommended to reduce the overall spore load by harvesting mushrooms while they are still in their younger growth stages.
You may also like
Customer Reviews
4.9 Based on 157 Reviews
5 ★
94%
147
4 ★
6%
10
3 ★
0%
0
2 ★
0%
0
1 ★
0%
0
Customer Photos
 i
i i
i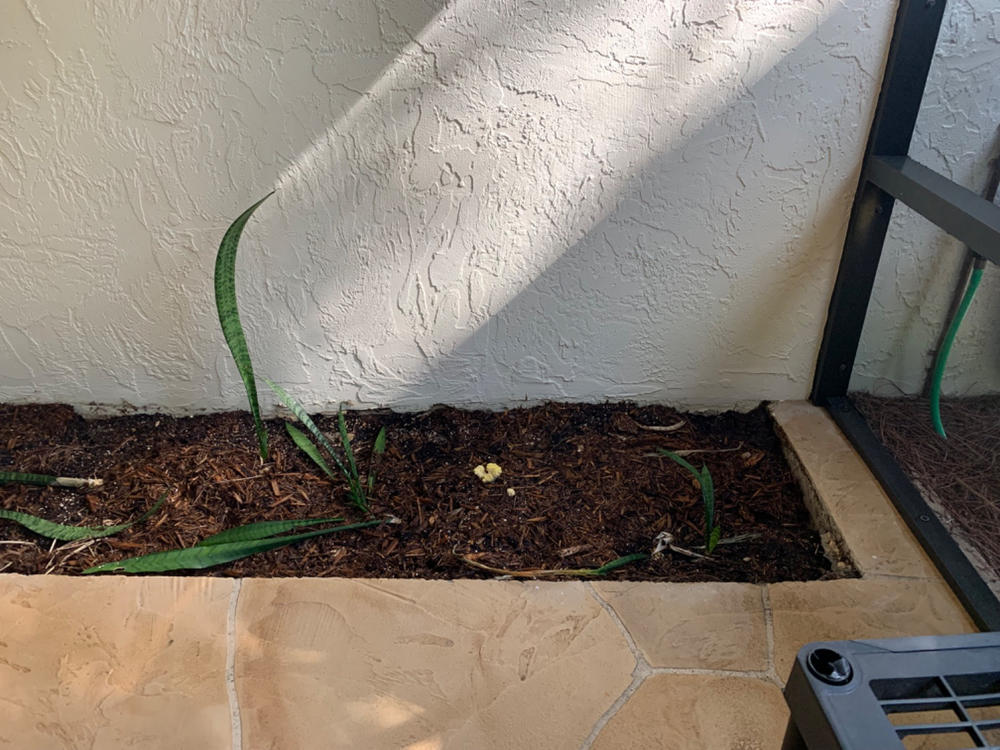 i
i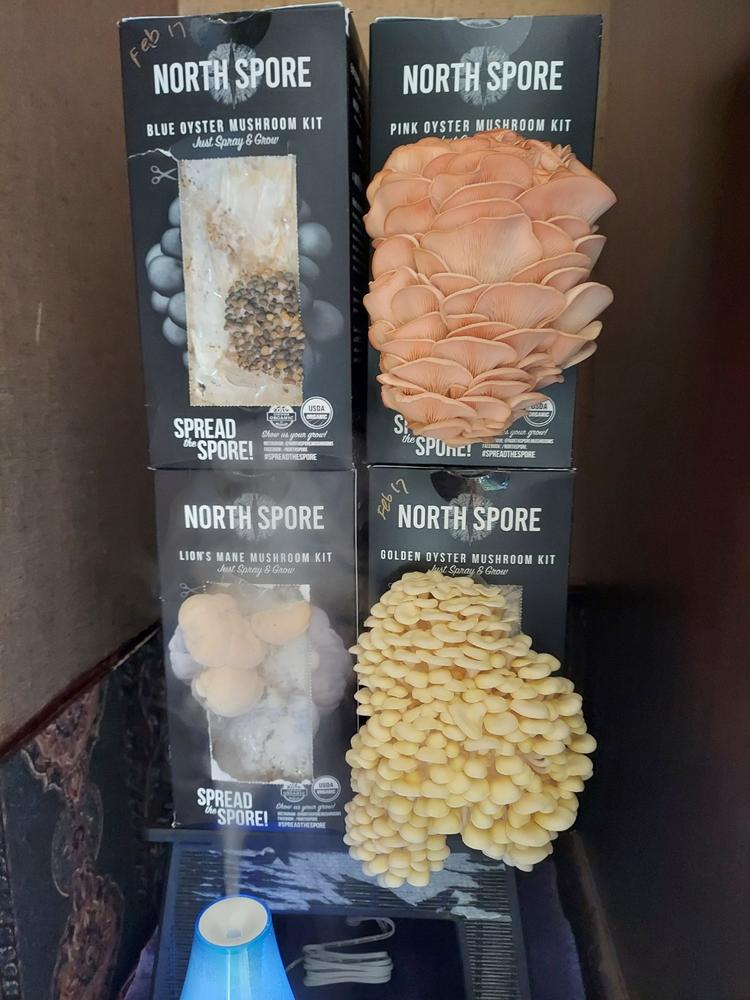 i
i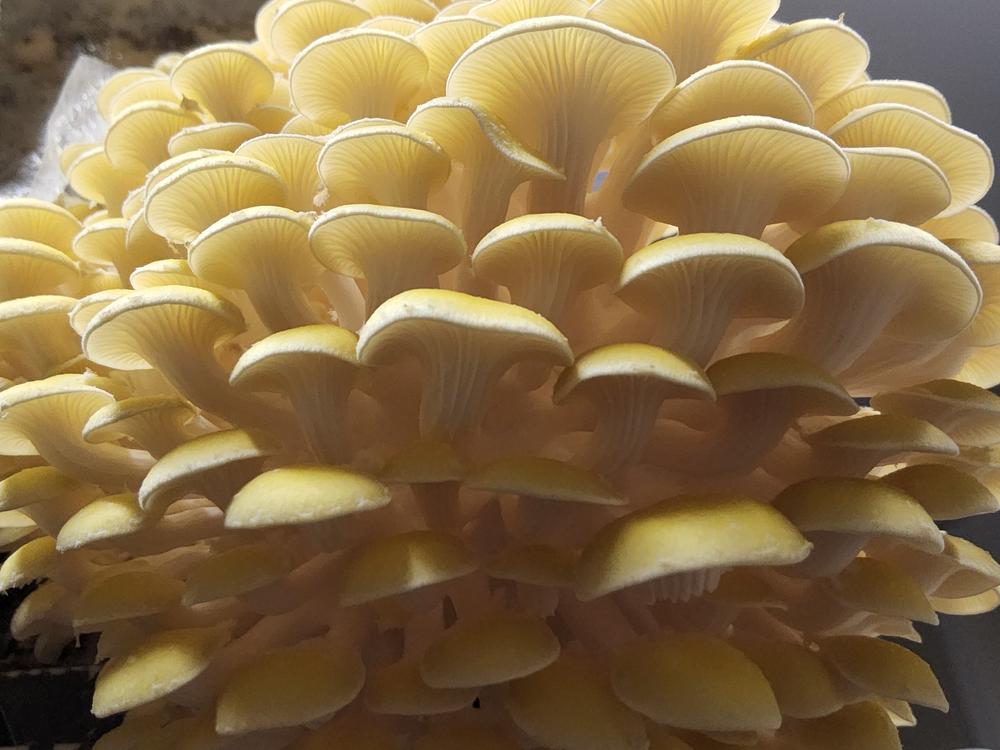 i
i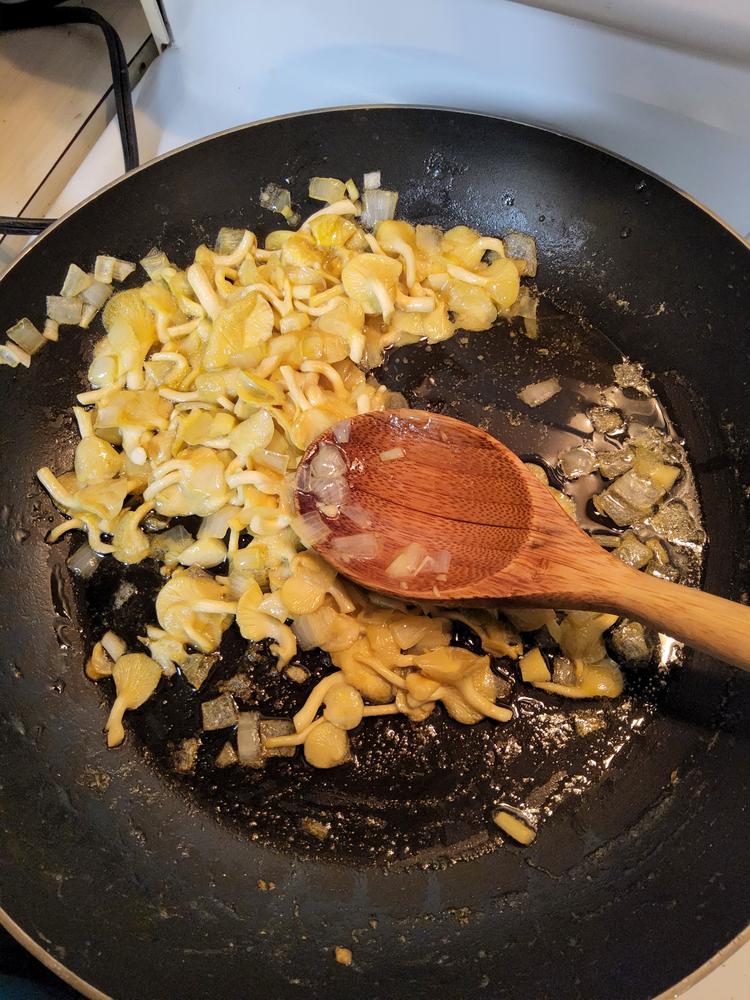 i
i i
i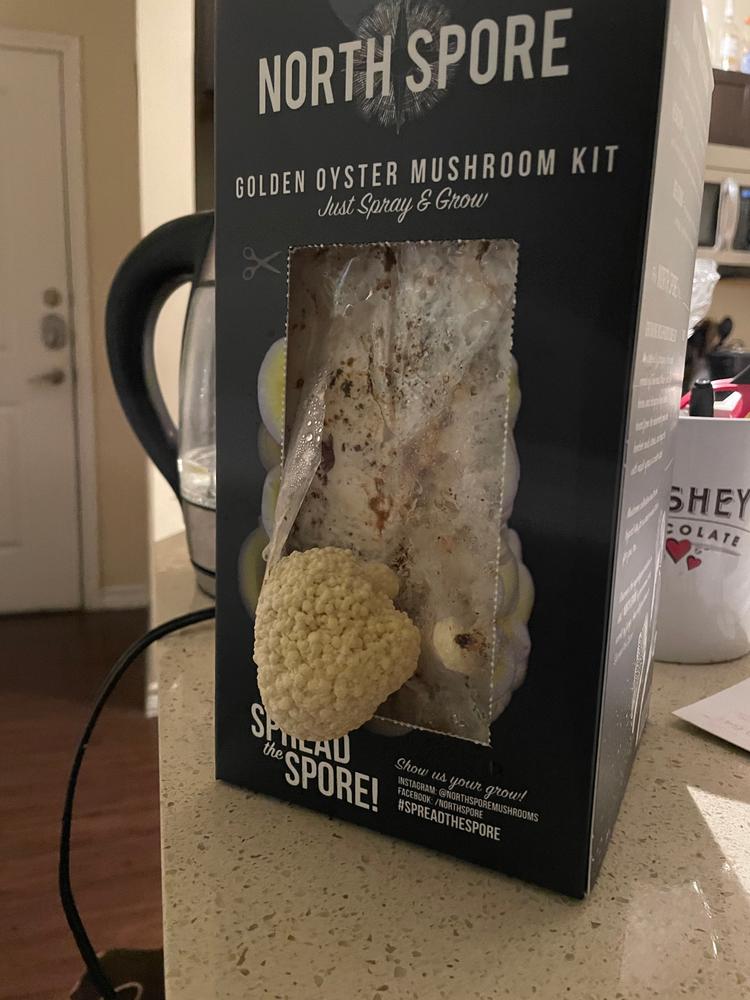 i
i i
i i
i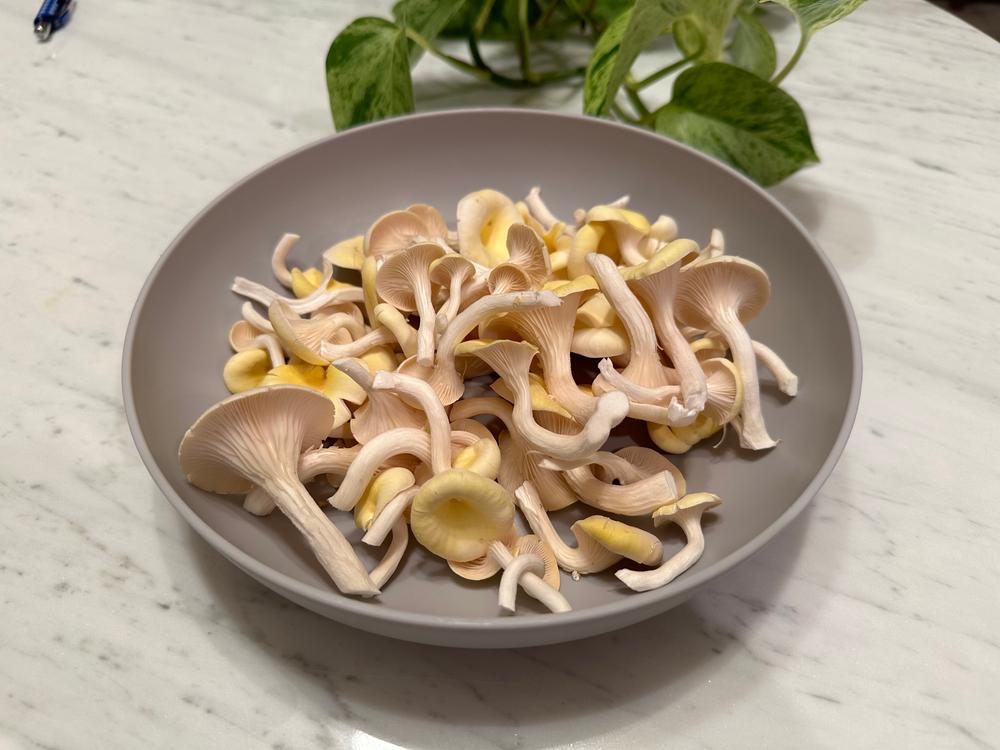 i
i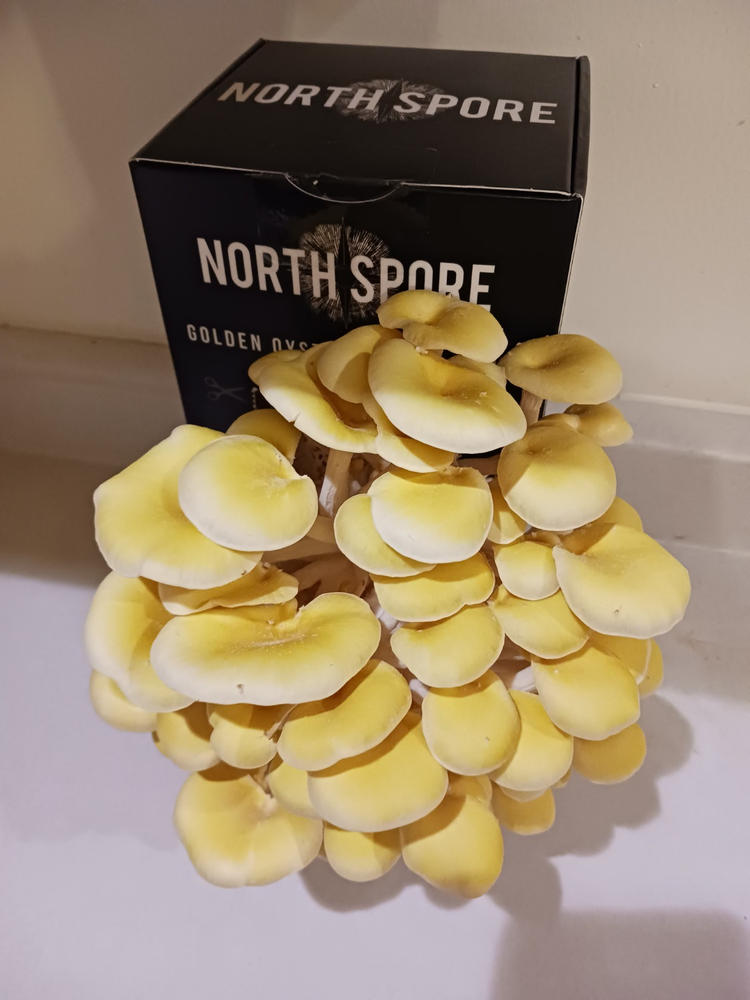 i
i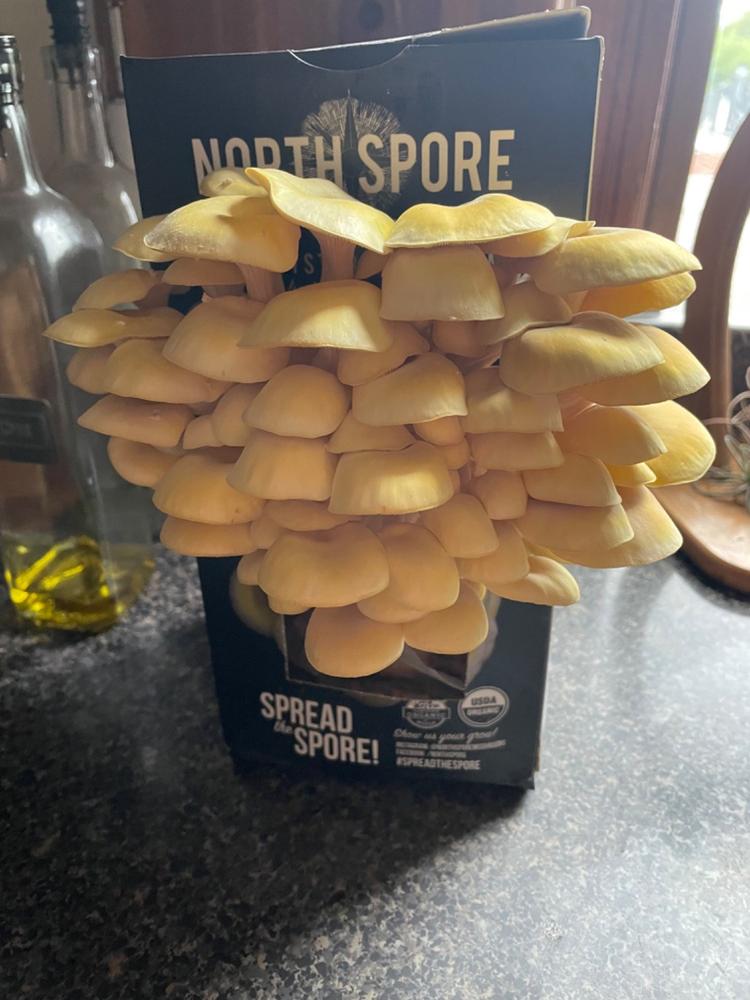 i
i- Reviews
- Questions
Thank you for submitting a review!
Your input is very much appreciated. Share it with your friends so they can enjoy it too!
Be the first to review this item
Filter Reviews:
×
Clear filter
More Filters
VM
04/14/2024
Virginia M.
I recommend this product
The gift that keeps on giving!
I was successful in my first crop of golden shiitake mushrooms in the box but I am so happy that I then planted the contents of the box into a planter on my covered screened porch and they are just now pinning there. Gee, maybe I’ll have my own mushroom farm. I would submit pictures but I don’t see how to do that. I live in Florida and I am hoping for great things since our weather will favor the mushroom growth year round. My purchase was so worth it.


04/17/2024
North Spore
Hello Virginia! Thank you so much for taking the time to leave a review! Your photos of the mushroom pins look great, congrats on your Golden Oyster success! We appreciate your support and will be here for all of your mushroom needs.
LY
03/23/2024
Laura Y.
I recommend this product
Welcome to your new obsession
Every spray and grow box has been amazing Super easy. Fascinating to watch. So delicious. Just do it. Seriously.

03/26/2024
North Spore
Your review made our day, Laura! Please reach out if you ever need anything.
RH
03/22/2024
Ryan H.
I recommend this product
Great Oysters!
Great! Oysters!
03/23/2024
North Spore
Thanks, Ryan! We're so glad everything is working out for you.
DR
03/19/2024
Dana R.
I recommend this product
Golden oyster
First and second flush was good!
03/22/2024
North Spore
Thanks for sharing, Dana! Our team is here to help if you ever need anything.
SC
03/09/2024
Spencer C.
I recommend this product
10/10 would reccomend
Very good, grew nice and they tasted great. Would highly reccomend
03/11/2024
North Spore
Thanks for the great review, Spencer! We love golden oysters as well! Glad you enjoyed them too!
T
03/02/2024
Tim
I recommend this product
Fast!
Easy to care for and fast. I'm already getting a second flush. We sauted them and ate them with steak.


03/02/2024
North Spore
Thanks for your kind review Tim! Golden oysters are one of our favorite species, too! Glad you’re enjoying them!
KB
02/28/2024
Kat B.
I recommend this product
FRUITFULLY FUN & EASY!
I absolutely love North spore and this is one of the first spray and grill kits I purchased. Perfect for a beginner easy to follow instructions and multiple fruiting's. I did not use any type of humidity tent I just had the boxes on the table as you can see in the picture although this is in my large laundry room so there is some humidity present. Back to purchase another. Highly highly highly recommend I have sent them as gifts and everyone has been so excited and pleased with their spray and Grow boxes. I will add that the yellow oysters are also probably the best regarding the amount of harvest and also the amount of recruiting's out of the block so it is one of my favorites.
02/29/2024
North Spore
Thanks, Kat! Golden Oysters are one of our favorite species, too! Glad you’re enjoying them.
T
02/22/2024
Tuck
I recommend this product
Absolutely insane!
It took a few days to really notice anything happening. And then it exploded. We thought we were in an episode of the last of us! That thing got so big so fast it wouldn’t have surprised me if it grew legs and started trying to eat our cats. In a matter of four days it went from an amorphous blob protruding out of the substrate to full on shelves that rivaled the size of the box it came in. They were delicious and we are trying for a second flourish. Thank you!!

02/24/2024
North Spore
Your review made our day, Tuck! We really appreciate you taking the time to share your experience.
KC
02/13/2024
Kristen C.
I recommend this product
Fascinating and so fun!
I bought this kit at my local feed store around the holidays. It was the perfect entry level mushroom kit, easy to get set up and started, and once the mushrooms starting coming, it was AMAZING to watch the change the happened between the morning and night...and then again overnight!! I'm totally hooked, and just ordered a monotub setup! I can't wait for more!
02/17/2024
North Spore
We're so happy you're enjoying the experience, Kristen! Thanks for the great review.
SC
02/09/2024
Sandra C.
I recommend this product
Mushroom Bag
Bought as a gift. Will follow up with the giftee.
02/17/2024
North Spore
Thanks, Sandra! If you need help with anything, please reach out.
Help us #Spreadthespore


Invalid password
Enter
